
Easy Crochet Coasters (a Perfect First Project)
An easy round crochet coaster pattern for total beginners: learn to work in the round with simple increases, in under an hour, for your very first project.
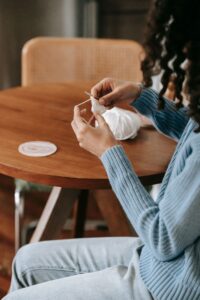
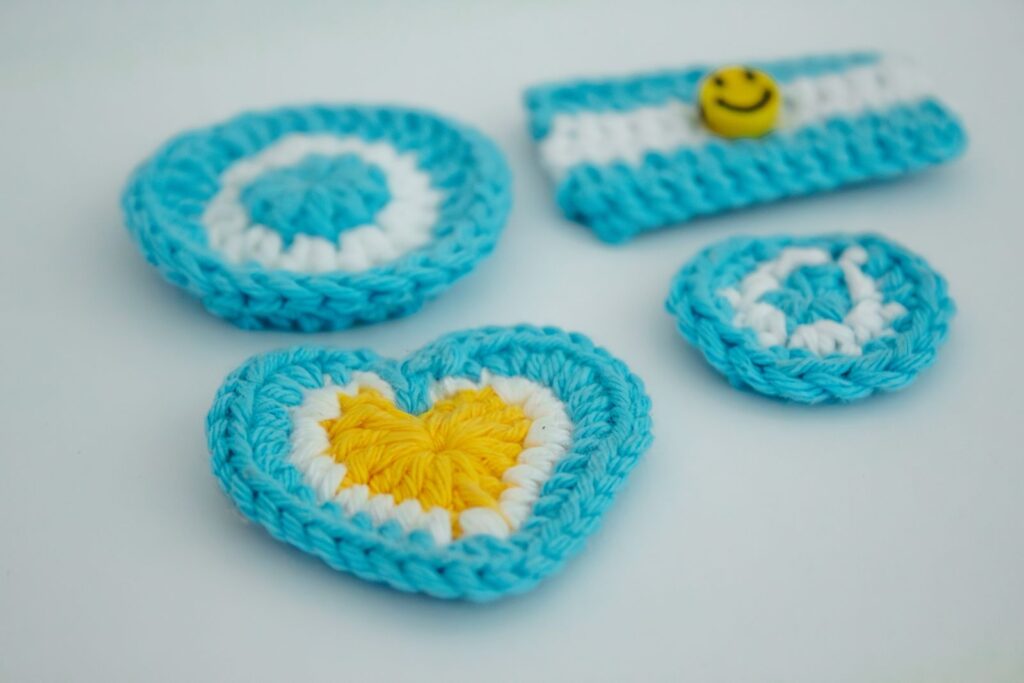
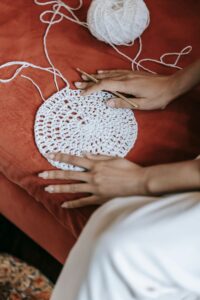
If a scarf feels like a big commitment for your very first project, a coaster is the perfect place to start instead — it takes less than an hour, uses very little yarn, and teaches you how to crochet in the round, a skill you’ll use again and again. I tested this pattern in cotton yarn because it holds its shape nicely under a warm mug, but any worsted weight yarn will work for practice.
Jump to section
Working in the round trips up a lot of beginners the first time, mostly because it feels so different from rows – there’s no back-and-forth, no turning, just a steady spiral of increases outward. The good news is that a coaster is small enough that if round 2 goes sideways, you’ll know within a minute or two, not after an hour of work. That fast feedback loop is exactly why it’s such a good place to learn this skill.
Getting it right looks like a flat circle, not a bowl and not a saucer that ripples at the edge. Both problems come from the same root cause – too many or too few increases – so once you understand the “add six stitches per round” rule below, you’ll be able to look at a coaster in progress and tell almost immediately whether it’s on track.
What you’ll need
- A small amount of worsted weight (#4) cotton yarn — about 20 yards makes one coaster
- A 4mm (US G/6) crochet hook, which gives cotton yarn a nice, firm fabric
- Scissors
- A yarn needle
A note on working in the round
Instead of working back and forth in rows like a scarf, this pattern builds outward in circles called “rounds,” starting from a small ring at the center. Each round has more stitches than the last, which keeps the coaster flat instead of cupping like a bowl — so count carefully as you go.
The pattern, step by step
- Chain 4, then join it into a ring by inserting your hook into the very first chain you made and slip stitching to close the loop. Keep this starting chain relaxed rather than pulled tight, so your hook can get into the center easily on the next round.
- Round 1: Chain 1 (this does not count as a stitch), then work 6 single crochet stitches into the center of the ring. Slip stitch into the first single crochet to join. You should have 6 stitches.
- Round 2: Chain 1, then work 2 single crochet stitches into each stitch around. Slip stitch to join. You should now have 12 stitches.
- Round 3: Chain 1, then work: 1 single crochet in the next stitch, then 2 single crochets in the following stitch. Repeat around. Slip stitch to join. You should now have 18 stitches.
- Round 4: Chain 1, then work: 1 single crochet in each of the next 2 stitches, then 2 single crochets in the following stitch. Repeat around. Slip stitch to join. You should now have 24 stitches, roughly 4 inches across.
- Border round: Chain 1, then single crochet in each stitch around without increases, for a smooth even edge. Working evenly here, with no increases, is what gives the coaster its clean, flat edge after all the shaping in the rounds before it. Slip stitch to join, then fasten off and weave in your ends.
Why the stitch count changes each round
Notice that each round adds exactly 6 more stitches than the round before. That’s what keeps a circle growing flat rather than puckering. Once you understand this “add six stitches per round” pattern, you can make circles of almost any size — coasters, the base of a bag, or a round rug.
Common beginner mistakes (and how to fix them)
The single most common slip is losing track of the joining slip stitch at the end of a round and starting the next round in the wrong stitch. This shifts your whole round over by one and leaves a visible step or jog in what should be a smooth circle. The fix is simple: always slip stitch into the very first stitch of the round – the same one you began the round with – and give it a second look before moving on.
The second common mistake is placing an increase into the wrong stitch of a group, for example working two single crochets into the first stitch instead of the one the pattern actually names. It won’t usually throw off your total stitch count, but it can shift where the increases land and make the coaster look slightly lopsided rather than perfectly round. If your count is right but the shape still looks uneven, this is usually why.
A simple variation
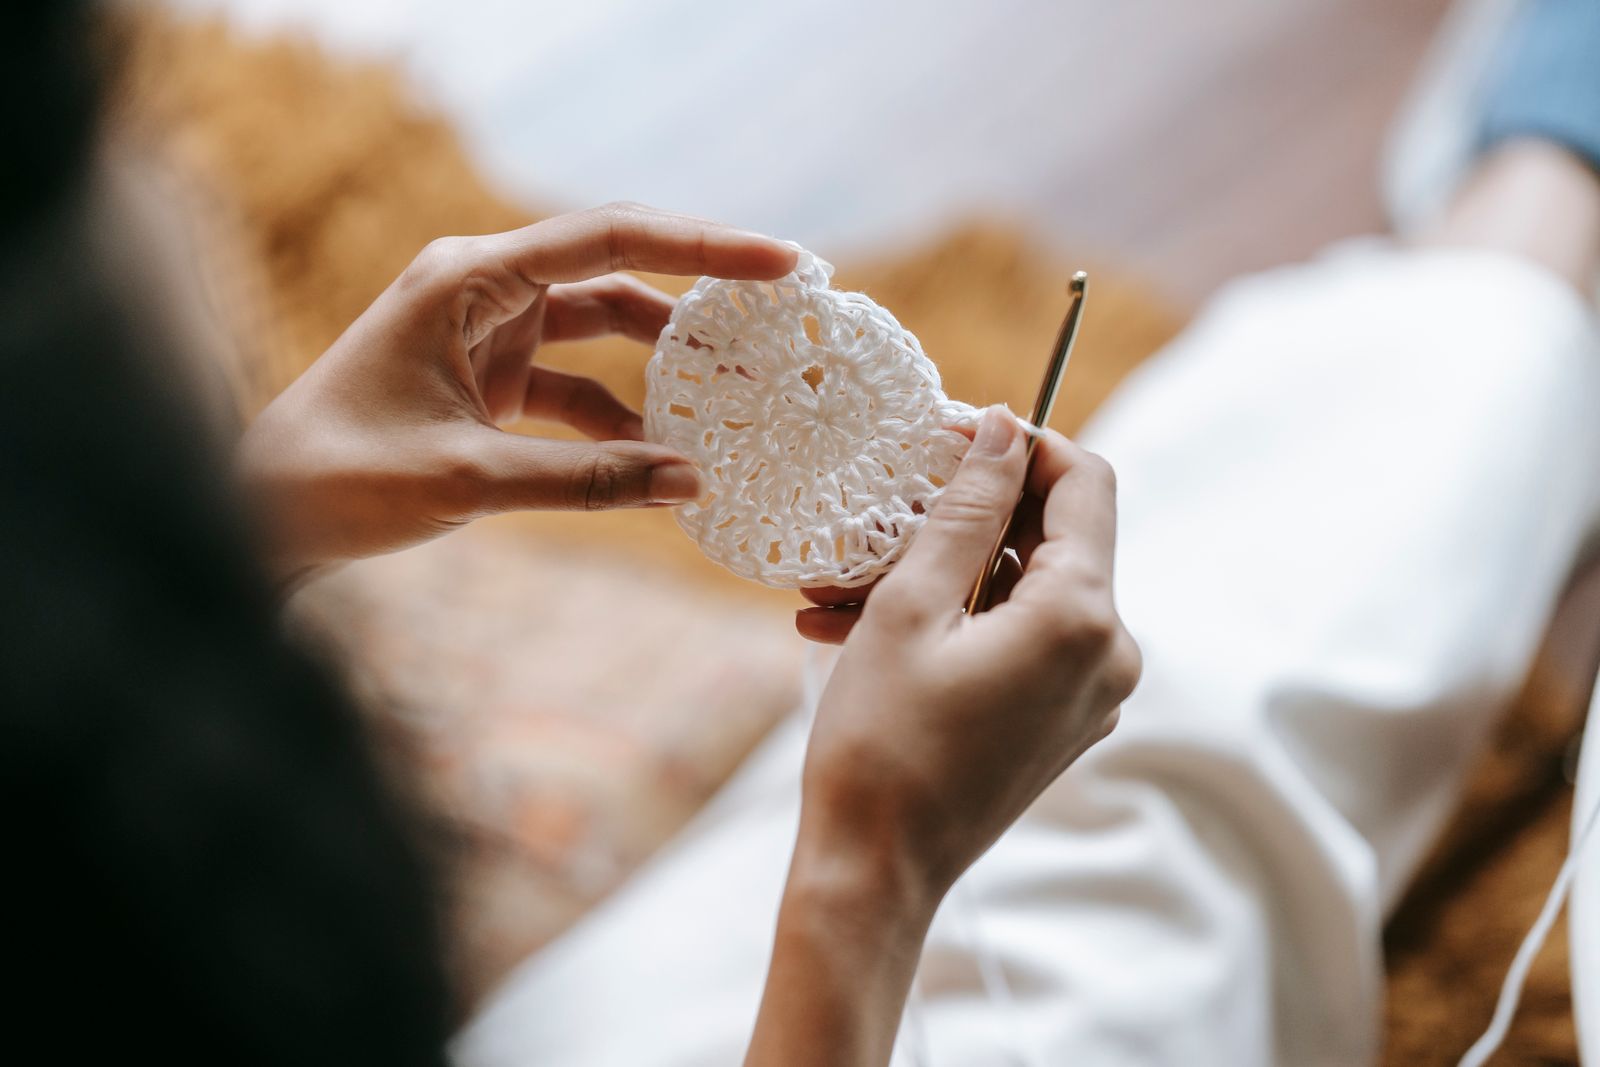
Once you’ve made one coaster, try making a set of four or six in different colors — a fast way to practice the same increase pattern until it feels automatic, and a matching set makes a thoughtful handmade gift. To make them larger, keep adding increase rounds using the same “add six stitches” rule before your final plain border round.
Frequently asked questions
Do I have to use cotton yarn for coasters?
No, any worsted weight yarn works for practice, but cotton is recommended for coasters you’ll actually use since it’s more absorbent and holds its shape better under a wet glass.
Can I make a square coaster instead?
Yes — a square coaster is worked flat in rows rather than in the round, similar to our easy beginner scarf, just much shorter and wider.
My coaster looks like a bowl instead of lying flat — what went wrong?
A round is probably missing an increase or two. Unravel back to the last round that looked flat, count your stitches against the pattern, and redo the increases from there.
How do I keep track of which round I’m on?
A stitch marker (even a scrap of contrasting yarn) clipped into your work at the start of each round, or a simple written tally, both work well — coasters are short enough that most beginners can also just recount from the center each time.
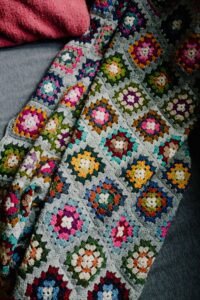
Can I make a set that matches a granny-square blanket?
Yes — since both are worked in the round with the same basic increase idea, matching colors between your coasters and a granny-square project is an easy way to make a set that feels coordinated.

2 responses