How to Hold a Crochet Hook (the Two Grips, and How to Pick Yours)
The two ways to hold a crochet hook - the pencil grip and the knife grip - explained simply, with how to choose the one that keeps your hands relaxed.
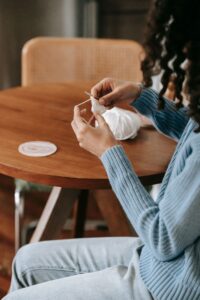
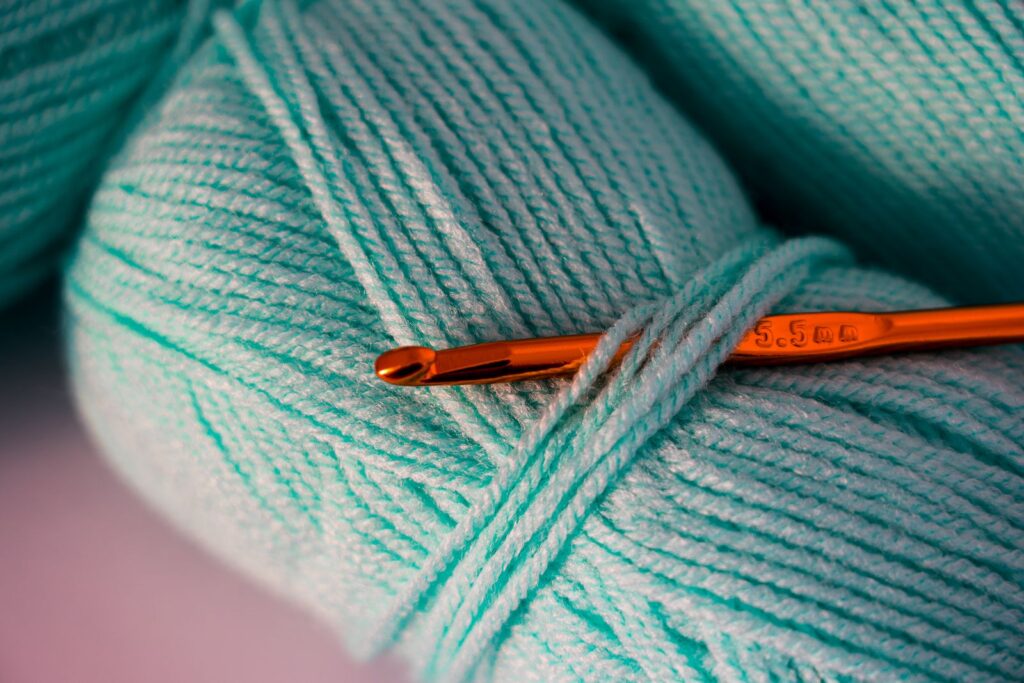
Before you make a single stitch, there’s one small decision that quietly shapes everything that comes after: how you hold the hook. Nobody really explains this part, and most beginners just grab the hook however feels natural and end up with a cramped hand ten minutes later. Let’s fix that first.
Jump to section
I’m Nora, and when I test a new pattern, grip is the very first thing I check on myself before I even glance at the yarn – because a tense grip shows up in the finished fabric long before it shows up as pain in your hand. Uneven tension, stitches that get tighter as a row goes on, a thumb that aches by the second row – nearly all of it traces back to a hand that’s bracing instead of relaxing.
There are two standard ways to hold a crochet hook, and neither one is more “correct” than the other. What matters is that your hand stays relaxed and you can move the hook without white-knuckling it. Getting this right doesn’t look dramatic – it just looks like a hand that isn’t working hard, making stitches that come out roughly the same size without you having to think about it.
The pencil grip
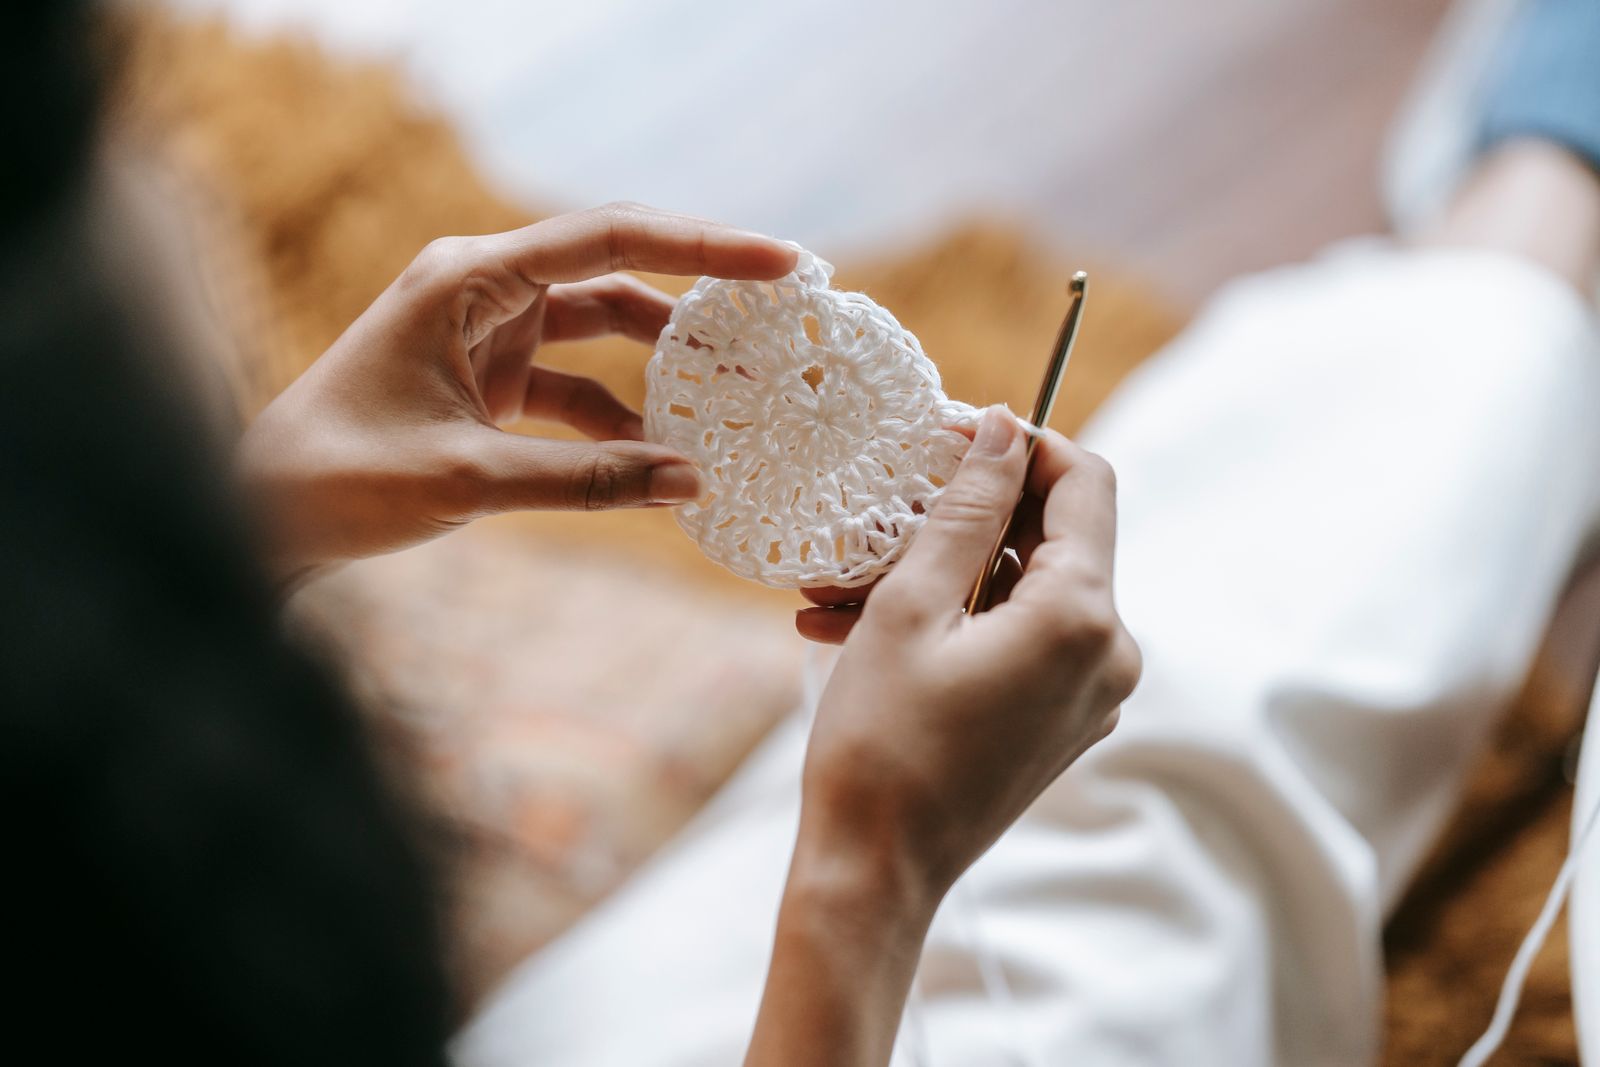
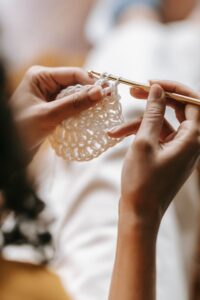
Hold the hook the way you’d hold a pencil to write: your thumb and index finger rest on the flat thumb rest of the hook, and the shaft leans back over the web of your hand. Many people find this grip intuitive because their hand already knows the position from writing.
The pencil grip gives you fine, precise control, which some beginners like for small, fiddly work. The trade-off is that it can put more strain on your fingers over a long session, so watch for tension creeping in. If your fingertips start to ache before you’ve finished your practice swatch, that’s a sign to ease your hold, not to push through it.
The knife grip
Hold the hook the way you’d hold a knife to cut food: your palm sits over the top of the hook, your thumb and index finger steady the thumb rest, and the rest of your fingers wrap loosely underneath. The hook points down and slightly away from you.
The knife grip tends to be gentler on the hands over time because your whole hand and wrist share the work instead of just your fingertips.
What your other hand is doing
Your non-hook hand is just as important – it controls the yarn. Most crocheters loop the working yarn over the index finger of that hand to keep a light, steady tension, while the middle finger and thumb hold the stitches you’ve already made. Tension is the thing that takes the longest to feel natural, so don’t worry if your first rows look loose or uneven. That’s normal, and it evens out with practice. A useful mental image: the yarn should glide over your finger, not saw into it – if you can see a groove forming after a few minutes, loosen your wrap.
How to choose
Try both grips for a few minutes each and notice which one lets your shoulder and hand stay soft. There’s no wrong answer, and plenty of experienced crocheters switch between grips depending on the project.
Common beginner mistakes (and how to fix them)
A handful of grip habits show up again and again in new crocheters, and every one of them is fixable in a single practice session once you know what to look for.
- Choking up too close to the tip. If your fingers are gripping right near the working point instead of on the flat thumb rest, you lose leverage and your hand tires fast. Slide your grip back to the thumb rest, a little further from the working end of the hook.
- Squeezing the hook like it might fall. It won’t. A relaxed hold with just enough pressure to steer the hook is all you need – gripping harder only tires your hand faster and tends to pull your stitches tighter without you noticing.
- Switching grips mid-row. Changing between pencil and knife grip stitch by stitch, rather than deciding once and sticking with it for a whole practice swatch, can make your tension uneven across the piece. Pick one grip, finish the swatch, then evaluate.
Once your grip feels sustainable rather than effortful, you’re ready for the next building block: making your first slip knot and foundation chain.
Frequently asked questions
Does it matter which grip I learn first?
No. Learn whichever feels relaxed, and stay open to switching later. Your hands will tell you what works.
My hand cramps after a few minutes – what am I doing wrong?
Almost always, it’s gripping too tightly and pulling your stitches too tight. Loosen your hold, make your loops a little bigger, and take breaks. It eases as tension becomes muscle memory.
Is crochet easier right- or left-handed?
Neither. Left-handed crocheters simply mirror the movements. If you’re a lefty, holding a small mirror next to a tutorial photo can help until it clicks.
Should I switch hands to relieve pain, or take a full break?
Take the break. Swapping to your non-dominant hand mid-project usually changes your tension inconsistently across the piece, which shows up later as a wobbly-looking section. It’s better to rest the hand you’re using and come back to it.
Do ergonomic hooks actually help, or is that just marketing?
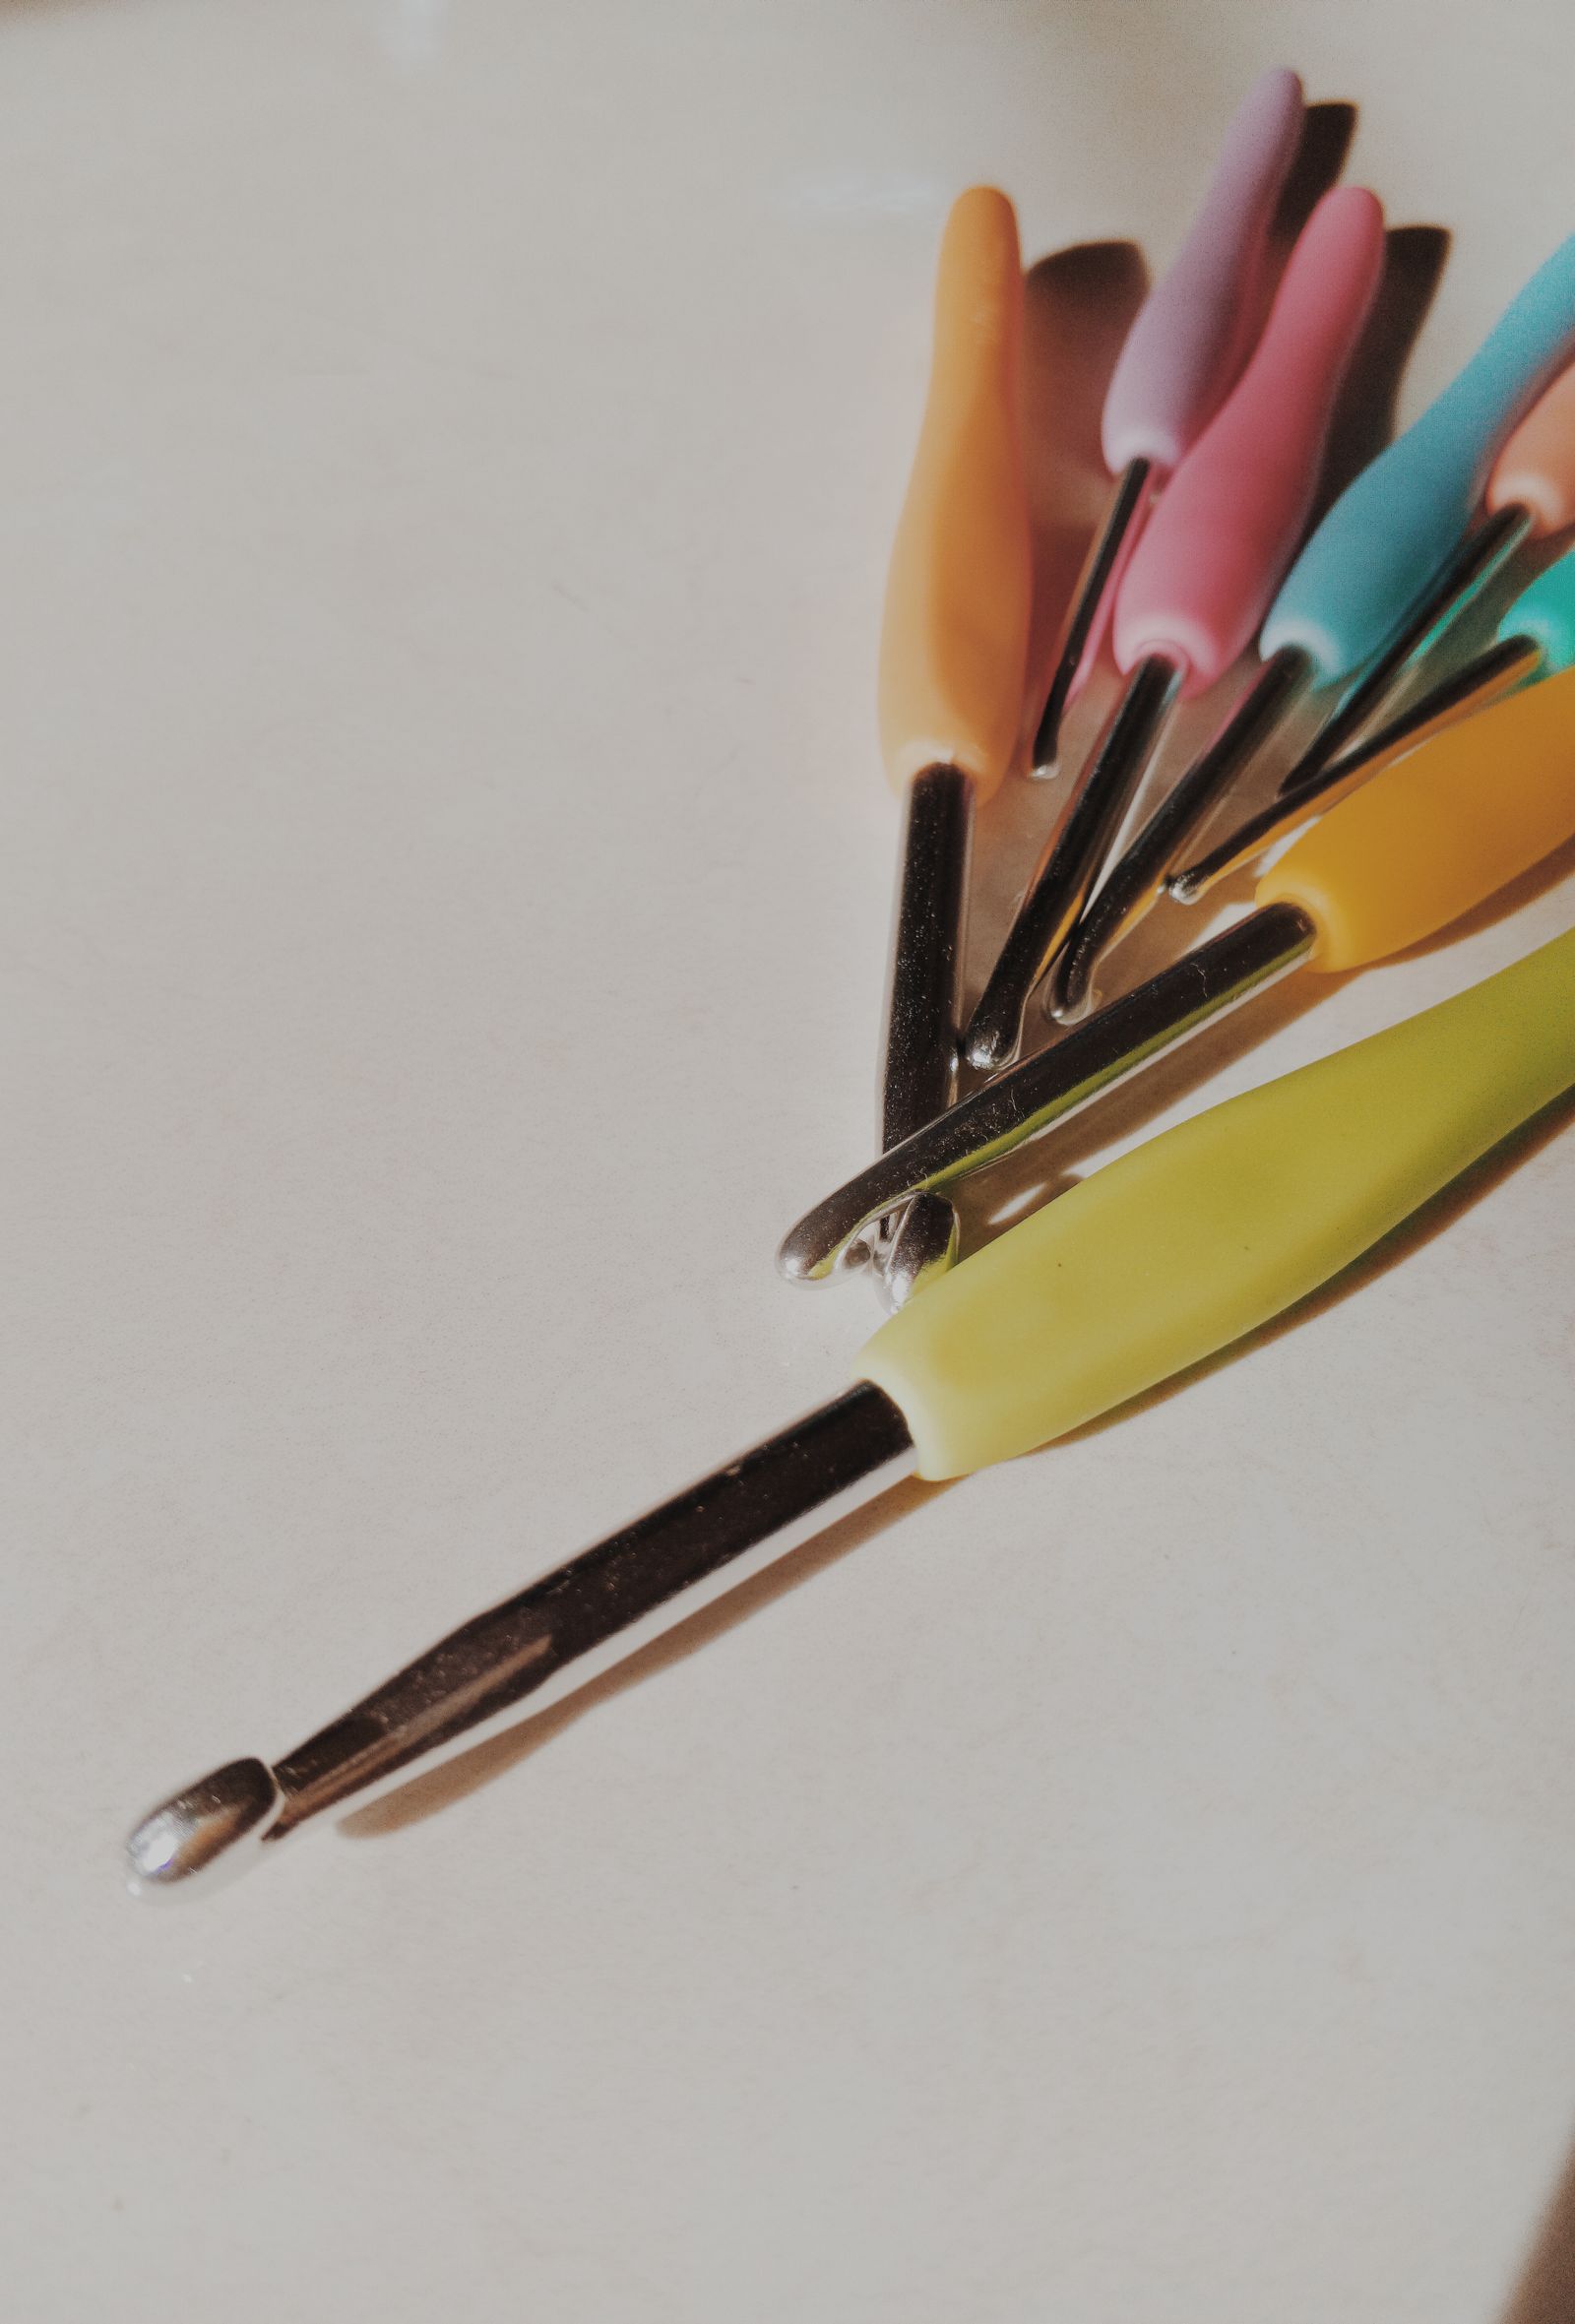
For a lot of people, yes. A wider, cushioned handle spreads pressure across more of your palm instead of concentrating it at your fingertips, which matters most in long sessions. If your local craft store carries a few styles, trying each for a minute is the fastest way to know if it’s worth it for you.
3 responses