An Easy Crochet Scarf for Beginners
A simple single crochet scarf pattern for total beginners, with materials, gauge notes, and clear step-by-step rows for making a cozy 60-inch finished scarf.

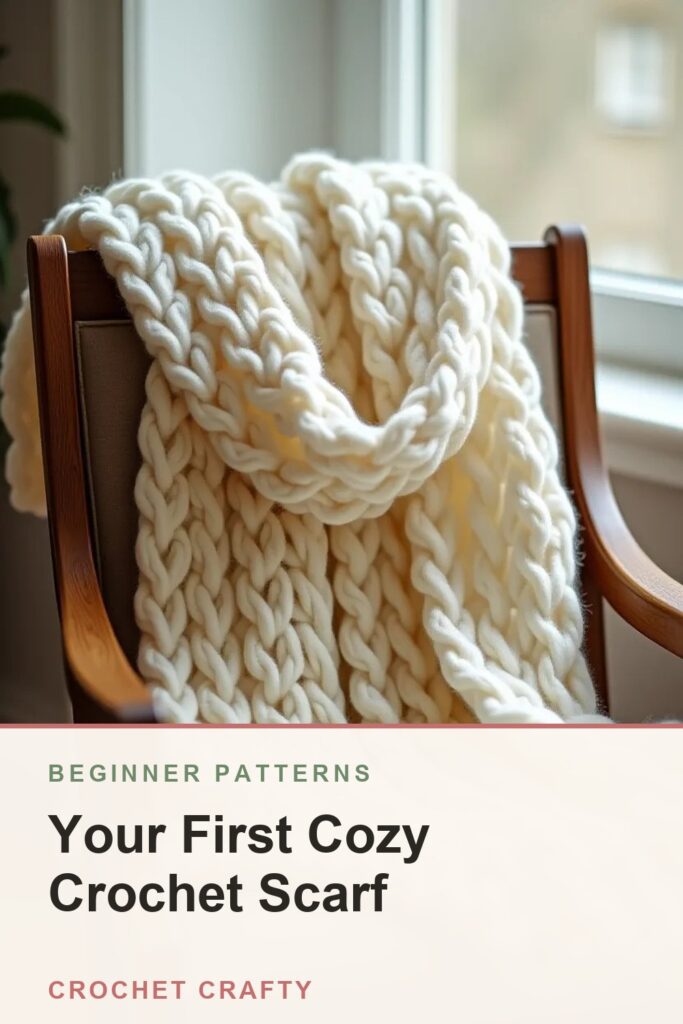
A scarf is one of the best first projects in all of crochet: one simple stitch repeated over and over, worked in straight rows, with no shaping to worry about. I designed this pattern specifically for first-time crocheters and tested it from start to finish, so you can trust that every row is exactly what it says it is.
Jump to section
The hardest part of a first scarf usually isn’t the stitch itself – it’s sitting with a repetitive row for the first time and trusting that slow, steady progress is actually working. Row 20 looks a lot like row 5, and that can feel discouraging until you lay the piece flat and realize how much length you’ve actually made. Crochet rewards patience more than speed, and a scarf is the project that teaches you that lesson gently.
Getting it right looks like two things: a width that stays consistent from the first row to the last, and edges that run in a straight line rather than zig-zagging in and out. Neither requires special skill – both come from the same habit, which is checking your stitch count at the end of a row until it becomes automatic instead of something you have to think about.
What you’ll need
- About 300–360 yards of worsted weight (#4) yarn — a soft acrylic or wool blend works well
- A 5.5mm (US I-9) crochet hook
- Scissors
- A yarn needle, for weaving in your ends at the finish
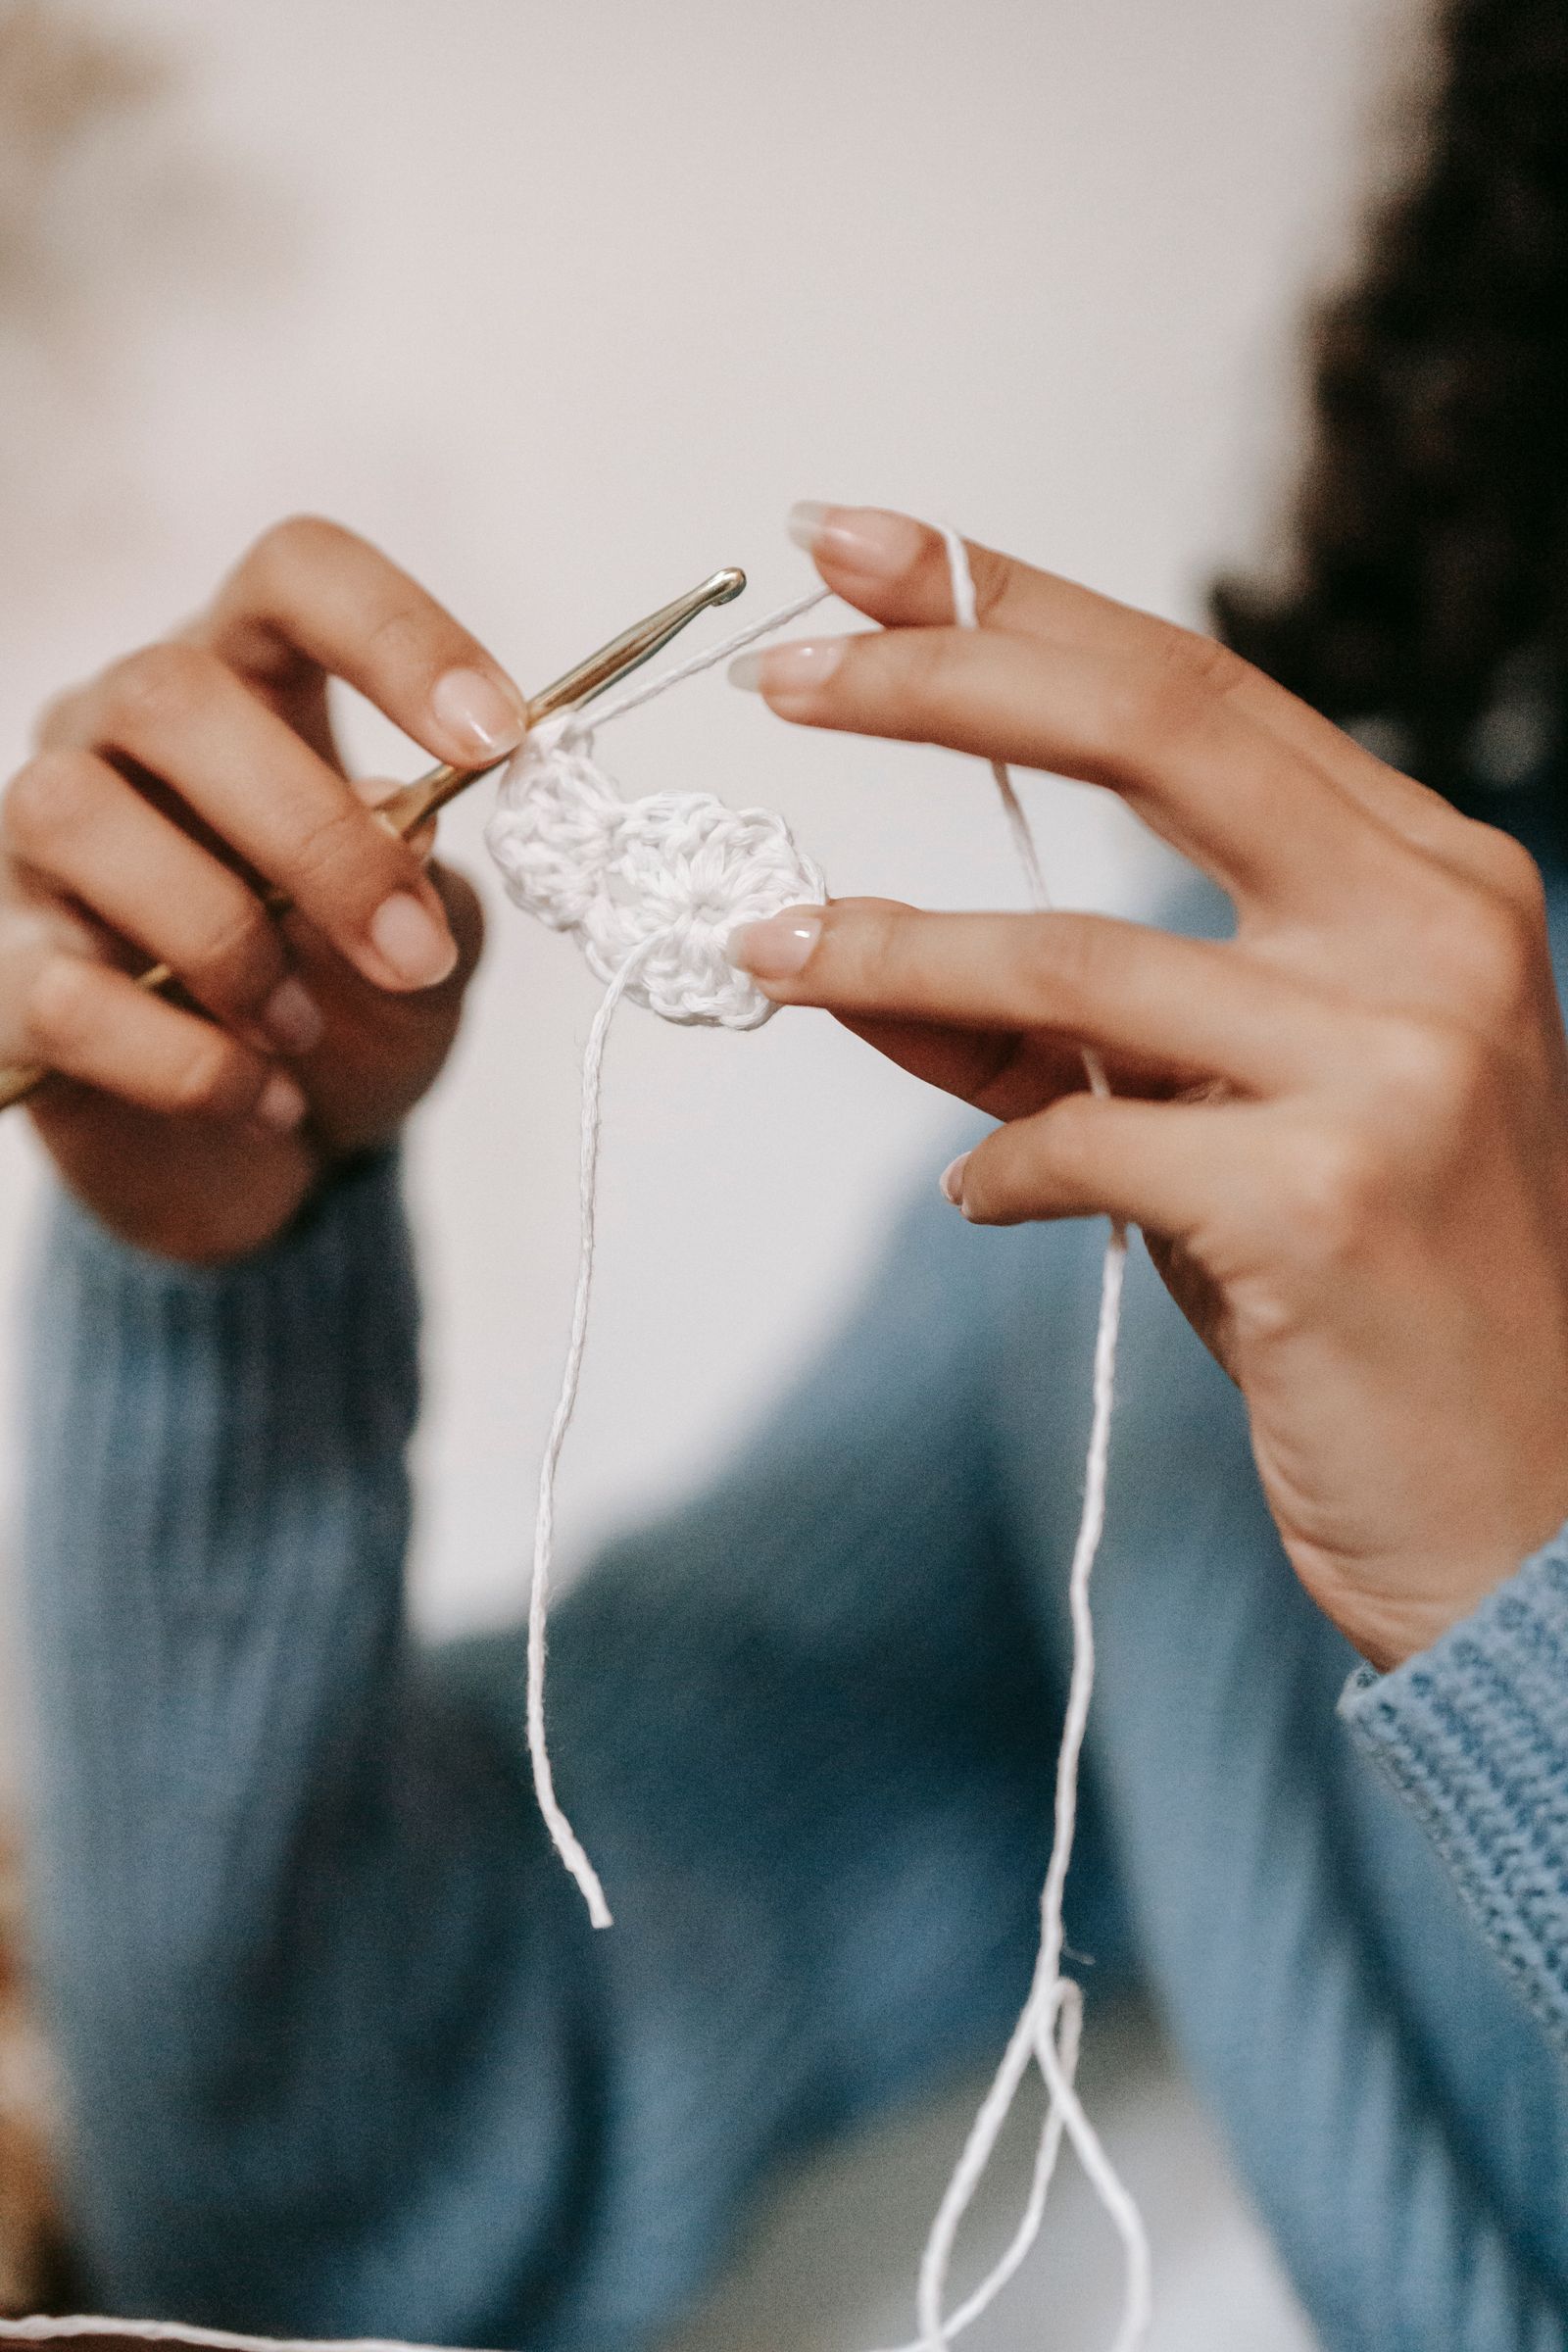
This pattern uses single crochet (abbreviated sc), the very first stitch most crocheters learn. If you haven’t practiced it yet, spend a few minutes on a small swatch first.
Gauge and size note
This scarf finishes at roughly 7 inches wide by about 60 inches long. Everyone’s tension is a little different, so before you commit to the full length, work the first few rows and check your width against a tape measure — if it’s noticeably narrower or wider than 7 inches, that’s fine, just adjust how long you make the scarf. (If you want the fuller explanation of what that “tension” really means and how to check it more precisely, see our guide to gauge in crochet.)
The pattern, step by step
- Chain 24. This foundation chain will become the width of your scarf. Lay the chain flat and count it twice before starting Row 1 – a miscounted foundation chain is the single most common reason a scarf comes out wider or narrower than planned.
- Row 1: Single crochet into the 2nd chain from your hook, then single crochet into each chain across. You should have 23 single crochets.
- Chain 1 and turn your work. This turning chain does not count as a stitch, so your first single crochet of the new row goes into the very first stitch, not the turning chain.
- Row 2 (and every row after): Single crochet into each stitch across, from the first stitch to the last. At the end of the row, chain 1, turn, and repeat.
- Keep repeating Row 2 until your scarf measures about 60 inches, or until you’re happy with the length — check by laying the scarf flat and measuring, without stretching it, since crochet fabric can stretch temporarily when pulled.
- Once you reach your desired length, fasten off and weave in both ends (see our guide on fastening off and weaving in ends).
Keeping your edges straight
Wobbly edges almost always come from missing the very first or very last stitch in a row. The first stitch is easy to skip right after turning, and the last stitch can hide inside the turning chain from the row below. Slow down at the start and end of each row until it becomes second nature.
Finishing touches
Once your ends are woven in, give the scarf a gentle steam or light wash and lay it flat to dry if your yarn label recommends blocking — this relaxes the stitches and evens out minor tension differences. You could add fringe to the short ends, or leave it plain for your first finished piece.
Variations to try once you’re comfortable
Once you can crochet a straight-edged scarf without checking your stitch count every row, you have the core skill for a huge range of projects. A dishcloth uses the exact same single crochet rows on a much smaller scale, which makes it a fast confidence-builder between longer projects. When you’re ready to try working in the round instead of in rows, coasters or a granny square teach that skill using stitches you may already recognize.
Within the scarf itself, there’s room to experiment without changing the pattern’s logic: try alternating two colors every few rows, add a border of single crochet around all four sides once it’s finished, or make a second, narrower scarf as a gift once the full-size version feels easy.
Frequently asked questions
Can I make the scarf wider or narrower?
Yes — start with a different chain length. Work your first row, measure the width, and add or remove chains until it matches what you want.
What yarn is best for a first scarf?
A worsted weight (#4) acrylic or acrylic-wool blend is easy to work with, affordable, and machine washable.
My scarf is curling at the edges — is that normal?
A little curl at the start is common with single crochet and often relaxes as the piece gets longer, or after blocking. If it persists, try a slightly larger hook next time.
How much yarn will I actually use for the full 60 inches?
Plan on the full 300–360 yards suggested above; single crochet is a dense stitch, so a scarf this size uses noticeably more yarn than the same length worked in a taller stitch.
Can I pause partway through and come back later?
Yes — single crochet rows are easy to set down and pick back up. Just note your hook size and roughly how many rows you’ve done, and avoid switching hooks or yarn dye lots midway, since either can create a visible line.