
How to Fasten Off and Weave In Ends
Learn how to fasten off crochet and weave in yarn ends the right way, step by step, so your finished handmade projects stay secure and never quietly unravel.

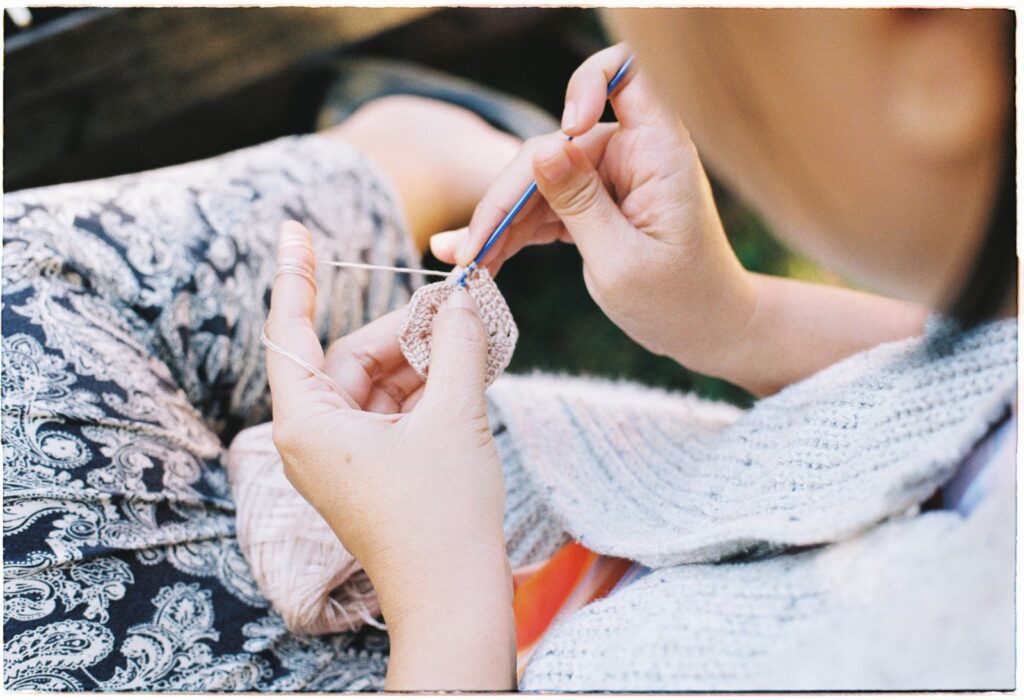
You’ve worked your last stitch — now what? Finishing a crochet piece properly is just as important as the stitches themselves. A rushed finish can unravel the moment it’s tugged, while a secure one holds up through years of use. I’m Nora, and I test every pattern I write, which means I’ve fastened off more edges than I can count. Here’s exactly how to do it.
Jump to section
Beginners tend to rush this part because it feels like the project is already “done” once the last stitch is made. I understand the temptation – after rows of counting and concentrating, a plain finishing step feels like an afterthought. But it’s exactly the step that decides whether your work survives a wash, a tug from a curious pet, or years of actual use.
Getting it right looks like a finished edge you genuinely can’t find again once it’s woven in – no visible tail, no gap where the last stitch closed, and no loose thread working its way out after a few wears. That’s a completely achievable standard the very first time you try it, as long as you slow down for these last few minutes.
What you’ll need
- Your finished (or paused) crochet piece, with the working loop still on your hook
- Scissors
- A yarn needle (sometimes called a tapestry needle) with an eye big enough for your yarn
A quick term
“Fastening off” means securing the very last loop so your stitches can’t unravel once the yarn is cut. “Weaving in ends” means hiding and securing the leftover yarn tails so they’re invisible and won’t work loose.
How to fasten off, step by step
- Finish your last stitch as usual, so you have one loop remaining on your hook.
- Cut the yarn, leaving a tail of at least 6 inches — enough to thread a needle and weave in comfortably.
- Yarn over with the cut end (pull the tail over your hook, the same motion as a normal yarn over).
- Pull the tail all the way through the loop on your hook. Once it comes through completely, that loop is closed for good.
- Gently tug the tail to snug the last stitch — not tight enough to pucker the fabric, just enough that there’s no gap.
How to weave in your ends, step by step
- Thread the tail onto your yarn needle.
- Sink the needle into the back of your work, close to where the tail comes out, and run it through the backs of several stitches — about 2 to 3 inches, following a line of stitches rather than a straight diagonal.
- Change direction and stitch back the way you came for another inch or so, weaving through slightly different stitches. This “doubling back” is what locks the tail in place.
- Pull the needle through, gently stretch the fabric to let the yarn settle, then trim the leftover tail close to the fabric without cutting into your stitches.
Working with slippery yarn
Cotton and silky acrylic blends are more prone to working loose over time. For these, weave in each end one direction, then weave back in the opposite direction along a different path, so the tail is anchored from two angles. It takes an extra thirty seconds and saves you from a loose end months later.
Common beginner mistakes (and how to fix them)
A few finishing habits cause almost all the “my project came apart” stories I hear. All of them are easy to avoid once you know what to watch for.
- Weaving in a straight line. A tail run in one straight diagonal can slide back out under stress. Follow the path of actual stitches instead, and double back along a slightly different route, as described above.
- Trimming too close, too soon. Cutting the tail flush right after fastening off – before it’s woven in – leaves nothing for a needle to grab if it slips out. Always weave first, trim last.
- Skipping the finishing step on a “quick practice swatch.” It’s tempting to just leave loose ends on a swatch you don’t plan to keep, but practicing the finish on low-stakes pieces is exactly how it becomes automatic for the projects that do matter.
Why this step matters
It’s tempting to rush the finish, but a project that unravels at the first wash undoes all that work. Whether you just practiced your double crochet or you’re wrapping up a scarf or coaster, five extra minutes to fasten off and weave in properly is what makes a handmade piece hold up like a store-bought one.
Frequently asked questions
Do I need a special needle to weave in ends?
No — a blunt-tipped yarn or tapestry needle works fine. You just need an eye large enough to thread your yarn.
What if my tail is too short to weave in?
Thread as much as you can and weave a shorter path, or use a crochet hook to pull it through a few stitches. Next time, leave a longer tail.
Can I weave in ends as I go?
Yes — for long projects some crocheters weave in every few rows to avoid a pile of tails at the finish. Either approach works.
Is it okay to use a dab of fabric glue instead of weaving in?
It’s better to learn the weaving technique first, since it’s reversible if you need to unravel and fix something later, while glue is permanent and can stiffen the fabric. Save quick fixes like glue for true emergencies, not as a routine substitute.
Should I weave in ends before or after blocking (washing and pinning the piece flat)?
Weave them in first. Blocking helps the stitches settle and can actually help hide a well-woven tail even further, but it works best on a piece that’s already fully finished.


One response