
How to Crochet a Classic Granny Square (Beginner Pattern)
A clear, tested granny square pattern for beginners - the exact rounds, stitch counts, and corner spacing, so your square lies flat instead of ruffling or curling.

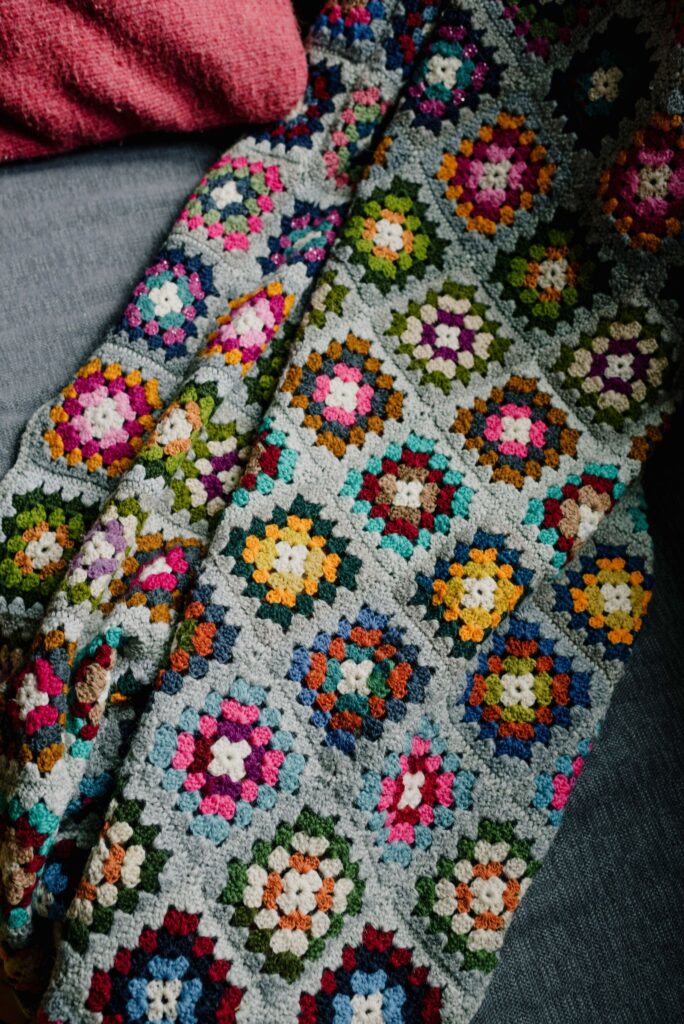
The granny square is the friendliest “real project” in crochet. It’s worked in the round, it grows fast, it uses up odd bits of yarn, and once you can make one, you can join dozens into blankets, bags, and cushions. This is the classic version, written out plainly with stitch counts so you always know where you are.
Jump to section
I remember the first granny square I ever finished – the corners looked nothing like the photo in the pattern, and I was sure I’d done something wrong. I hadn’t; I just didn’t yet know that a granny square is built from two ideas repeated on a loop: group three double crochets together, then leave a gap. Once that clicks, the “group, then gap” rhythm becomes almost automatic, and you stop counting every single stitch and start feeling where the next group belongs.
Where beginners usually get stuck is the corners, not the sides. A corner isn’t just a turn in the fabric – it’s its own stitch group with a chain-2 space in the middle, and every round after the first needs you to work into that same space twice. Skip it, and your square stops being a square. Get it right, and you’ll feel the fabric square up in your hands round after round, corners crisp and sides straight, with almost no guesswork.
What you’ll need
- Worsted-weight (medium, #4) yarn in one or more colors
- A 5.0 mm (US H/8) or 5.5 mm (US I/9) hook
- Scissors and a yarn needle for weaving in ends
This pattern uses US terms. The only stitches are the chain (ch), slip stitch (sl st), and double crochet (dc). A double crochet is: yarn over, insert hook, pull up a loop (3 loops on hook), yarn over and pull through 2, yarn over and pull through the last 2.
Start: the center ring
Chain 4 and join with a slip stitch into the first chain to form a ring.
Round 1
Ch 3 (this counts as your first dc). Work 2 dc into the ring, then ch 2 to make the first corner. Work 3 dc into the ring, ch 2 – repeat that three more times. Join with a sl st to the top of the beginning ch-3.
You should have four groups of 3 dc separated by four ch-2 corner spaces. That’s the little square you’ll build on.
Round 2
Slip stitch across to the nearest ch-2 corner space. In that space work: ch 3, 2 dc, ch 2, 3 dc (that’s your first corner made of two dc-groups with a ch-2 between them). Then ch 1 to cross the side. In the next corner space work (3 dc, ch 2, 3 dc), then ch 1 – repeat around. Join with a sl st to the top of the beginning ch-3.
Now each corner has two 3-dc groups with a ch-2 between them, and each side has a single ch-1 gap.
Round 3 (and every round after)
Slip stitch to the first corner space. In each corner space work (3 dc, ch 2, 3 dc). Along each side, work 3 dc into the ch-1 space, with ch 1 between every group. Join with a sl st at the end of the round.
In plain terms, the rule from Round 3 onward is simple: corners get (3 dc, ch 2, 3 dc); every side gap gets 3 dc; put ch 1 between groups. Repeat this round until your square is the size you want.
Finishing
Cut the yarn leaving a 6-inch tail, pull it through the last loop to fasten off, and use a yarn needle to weave the tail into the back of the stitches. Do the same with your starting tail.
Why your square might ruffle or curl
If the edges wave or ruffle, you’re adding stitches – usually too many dc in the side spaces, or an extra group sneaking in at the corners. If the square cups or curls, you’re short a group somewhere. Blocking (gently wetting and pinning the finished square flat to dry) also relaxes minor unevenness.
Joining squares (and other variations to try)
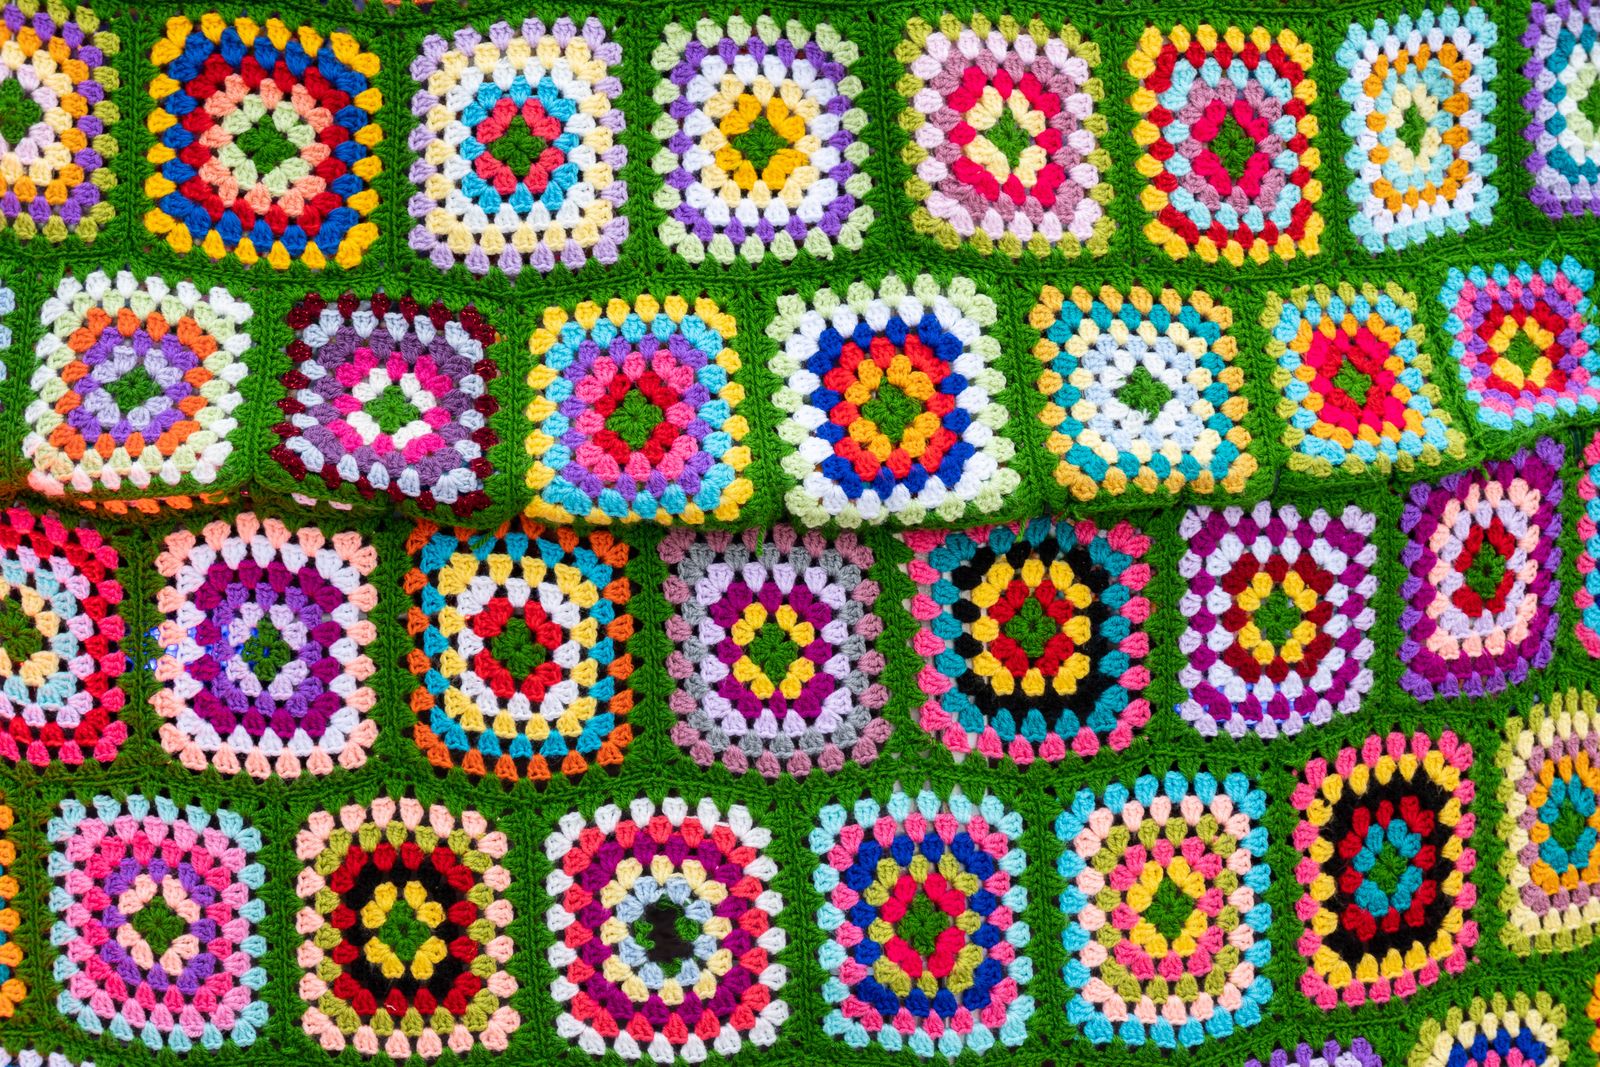
Once you can make one square confidently, the real fun starts. The most common way to join finished squares is a whip stitch or slip-stitch seam worked through the outer loops, square by square, into rows and then into a full blanket – keep every square the same number of rounds so the edges line up evenly. You can change color on every round for the classic multicolor look, or keep one color throughout for a cleaner, modern version. If you want to see the whole four-corner shape at a glance before committing to a full blanket, a crochet chart for a granny square lays out every round as a ring of symbols, which can make the corner-and-gap pattern click even faster than words alone.
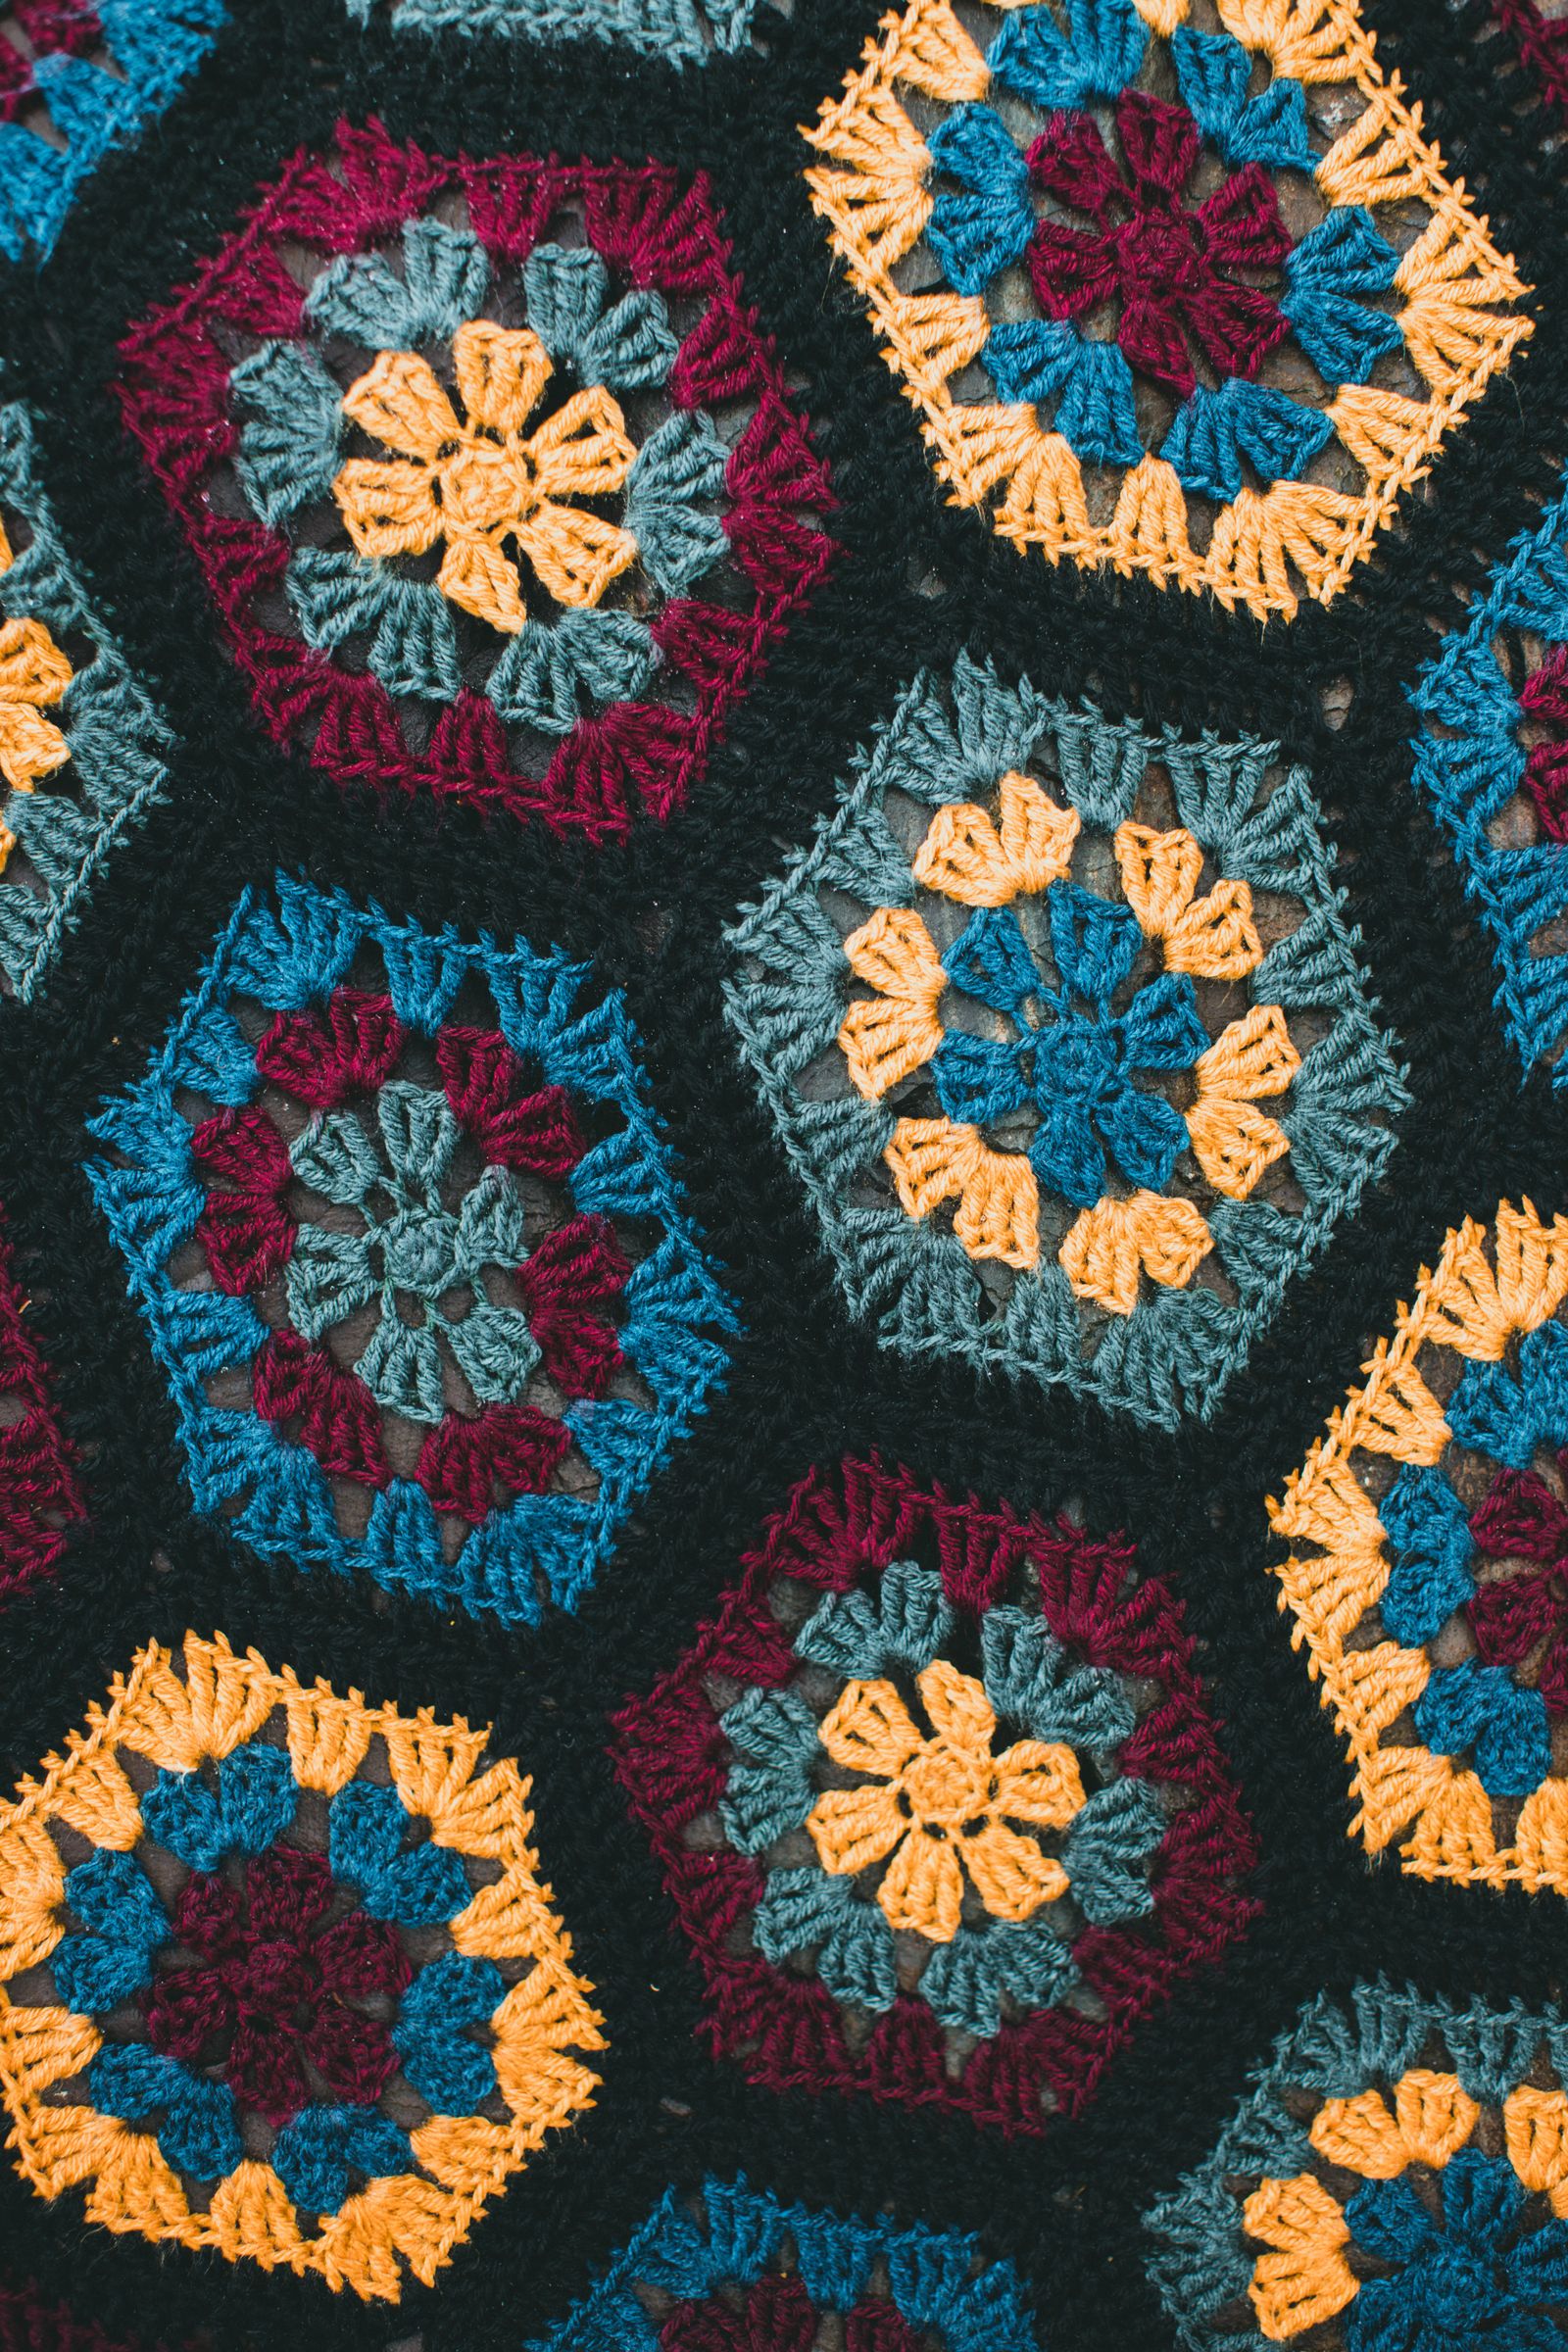
You don’t have to keep the square small, either. The same Round 3 rule – corners get a 3-dc group on each side of the chain-2, sides get 3-dc groups with chain-1 between – keeps working no matter how large you go. That’s exactly how a granny-square blanket gets built: not as one giant piece, but as this same small pattern repeated until it’s the size you want.
Frequently asked questions
Can I change colors each round?
Yes – that’s the classic granny look. Fasten off at the end of a round, then join the new color in any corner space with a slip stitch and begin the round there.
How many rounds make a standard square?
Six to eight rounds makes a versatile square for blankets. Make them all the same number of rounds so they join evenly.
My center hole is big. Is that normal?
A chain-ring leaves a small hole, which is traditional. If you want it closed, start with a magic ring instead and pull it tight before Round 2.
What yarn weight works best if I don’t have worsted weight on hand?
You can experiment with a lighter or bulkier yarn, but size your hook to match it – your finished square will simply come out smaller or larger than the roughly worsted-weight result this pattern describes.
How do I join finished squares together?
The two easiest methods are whip-stitching through the back loops with a yarn needle, or single-crocheting the edges together as you go. Both work well for a first blanket – pick whichever feels more comfortable and keep it consistent across the whole project.

3 responses